
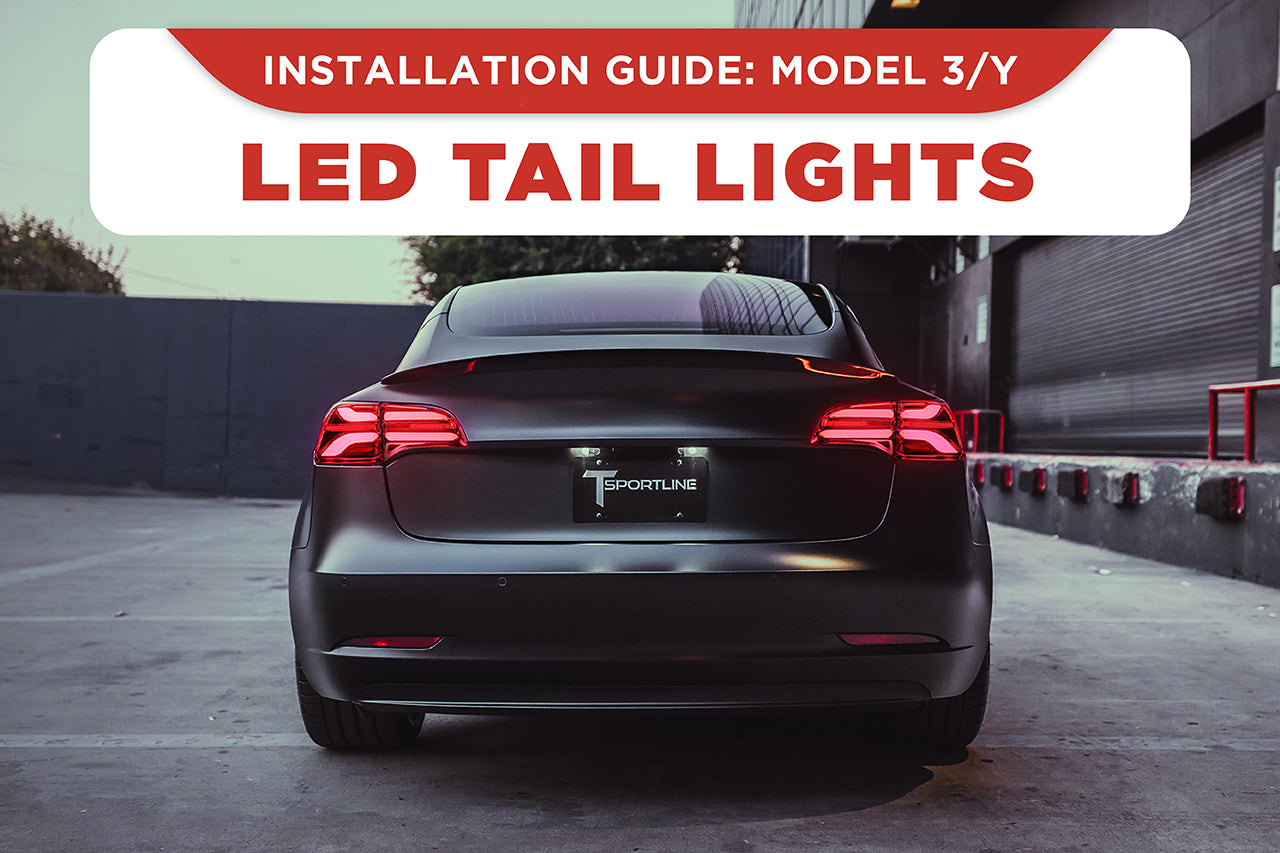
ALPHAREX specializes in designing and producing superior and uniquely stylish aftermarket automotive performance lighting with unrival innovative technology. The following installation guide we take you through the installation of your new ALPHAREX TAIL LIGHTS for your 20-22 Model Y step by step.

Installation Tools

PART I - REMOVE TAIL LIGHTS
STEP 1: UNSCREW THE TAIL LIGHTS NUTS

Open the liftgate and start by removing tail light’s cover from the driver’s side.

Pull up the plastic cover.

Open the side of the rear trim and remove 2 X 8mm nuts from back of the tail light.

STEP 2: UNPLUG & REMOVE OUTER SECTION OF THE TAIL LIGHTS

Open the charger port from the driver side. Use a panel popper, gently lift the edges of the tail light and pulling it outward.

Unplug the tail light socket and remove the outer section of the tail light completely.

Please repeat the removal process for the other side.
STEP 3: REMOVE THE TRUNK PANEL

With the help of panel popper, gently pull and remove the trunk panel which is hold by multiple plastic clips.

Pull outward and remove the trunk latch cover. Please set it aside for later reinstallation.

Unplug the wire while removing the trunk panel.

Remove the trunk panel and set it aside for later reinstallation.
STEP 4: REMOVE INNER SECTION OF THE TAIL LIGHTS

Unplug the inner section of the tail lights’ wire for each side.

Remove the 8mm bolt from the back of each tail lights.

With the help of panel popper, gently pull and remove the inner section of the tail lights.
PART II - INSTALL TAIL LIGHTS
STEP 5: INSTALL INNER SECTION OF THE TAIL LIGHTS

Position ALPHAREX Tail lights to the trunk and to the mounting hole.
Reverse the removal process to install the new tail lights.

Screw the 8mm bolts and plug-in the tail light wires.

Reinstall the trunk panel and complete the inner tail lights installation.
STEP 6: INSTALL OUTER SECTION OF THE TAIL LIGHTS

Plug the tail light wires and position it to the vehicle body.
Reverse the removal process to complete the installation.
Repeat the same steps for the other side.
STEP 7: COMPLETE INSTALLATION

Congratulations! You have completed the installation for ALPHAREX 20-22 Model Y PRO-Series LED tail lights.